In this tutorial we will use a domain bought from Namecheap and host it on Digital Ocean. In order to continue you will need:
- A domain name from Namecheap
- A Digital Ocean account.
If you are using ASmallOrange, check this tutorial instead.
In this tutorial we will use a domain bought from Namecheap and host it on ASmallOrange. In order to continue you will need:
- A domain name from Namecheap
- A hosting in ASmallOrange
Part 1: Changing the DNS (Domain Name Server) on Namecheap
- Log in to your Namecheap account.
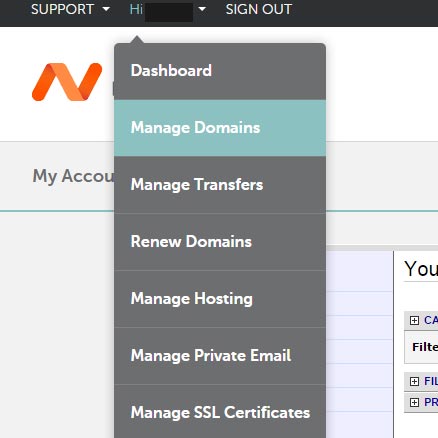
- Go to My Account > Manage Domains
- Click the domain name you want to edit
- On the left sidebar, click Transfer DNS to Webhost
- On the main panel choose Specify Custom DNS Servers ( Your own DNS Servers )
- Add the Digital Ocean nameservers to the input fields:
ns1.digitalocean.com
ns2.digitalocean.com
ns3.digitalocean.com
- Click Save Changes.
Note: Changes may take up to 24 hours to take effect.
Part 2: Setup Domain Name in Digital Ocean
- Login to Digital Ocean
- Go to Networking > Domains
- Add your domain name by filling the form below:

Digital Ocean Add Domain - Click Add Domain.
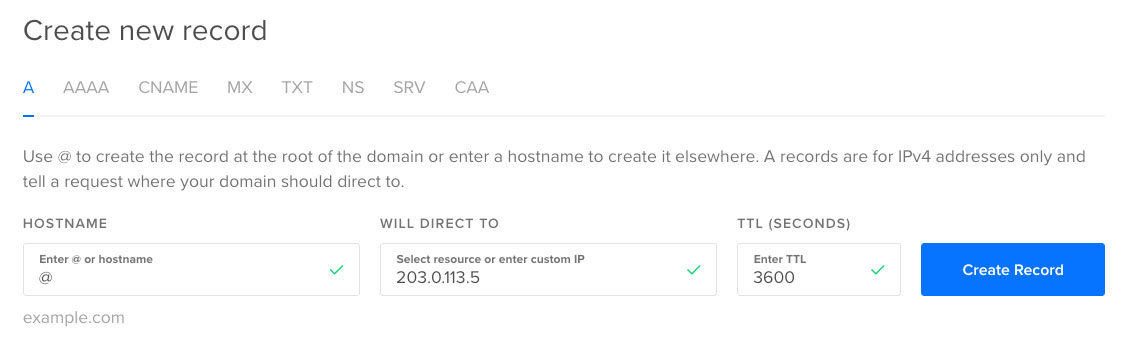
- A Records. Go to your newly added domain to add an A record. An A record points to an IPv4 address. In your host name, put “@”. This means whatever your domain name is. Next put the IP address of your DO droplet:
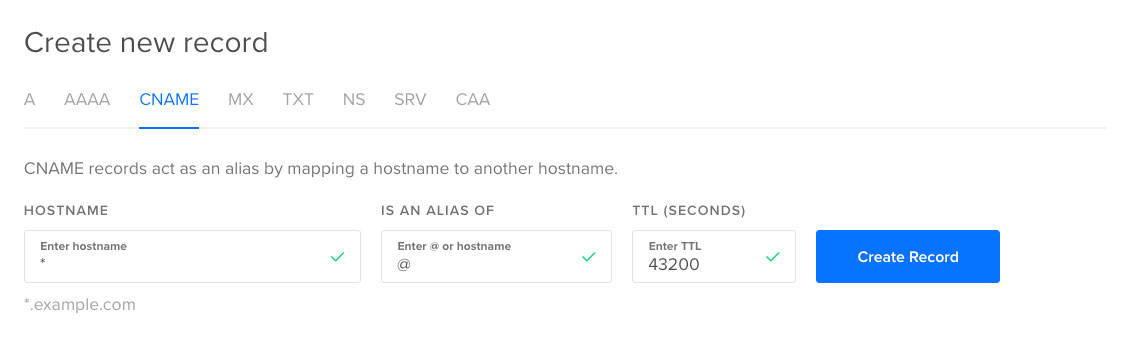
Digital Ocean A Record Note:AAAA Records are similar to A records but its for IPv6 address. You can use both of them. - CNAME Records. To add a subdomain (optional), add a CNAME Record. For example, this is the entry for www.example.com:
Digital Ocean CNAME Record
No Comments